Backsplashes might not seem like much of a big deal, but you’d be amazed just how effective they are at transforming the entire look of a kitchen. They’re a simple, easy to DIY project that make a huge impact on the chic elegance and overall look of your kitchen. From chic subway tiles to gorgeous glass tiles that will add a pop of color and class to your kitchen, there is so much to be said about adding a backsplash to any kitchen. And it’s so simple to do that you can easily do it yourself without any issues. We love the concept of adding backsplash to any kitchen or bathroom, and we love the concept even more when you do it yourself. So with that in mind, we have a few pieces of advice that will help anyone tackle this project with ease and confidence. Any beginner DIY-er can handle a DIY backsplash if they only adhere to these simple tips first.
Wait for the Countertops to be Installed First
If you’re doing your own backsplash in the midst of a complete renovation, wait for the backsplash. You need the countertops in place first to ensure that you get even lines and no crazy shapes going on when you install the backsplash. It might not be your favorite thing to do, waiting on something, but it’s for the best in this situation.
Go with Mesh Mounts
There are plenty of small tiles that come affixed in large squares to mesh mounts. These are very simple to install and make a huge impact as far as style and appearance are concerned. These larger sheets make installation as simple as possible, and they make it possible for you to keep your tiles as lined up and even as possible. It’s a fool-proof way for a beginner to take on this project.
Use the Spacers
Even if you have decided to use the mesh backed tiles to make your backsplash, you will still need a spacer. Do not be intimidated by it. Use it and love it. It’s going to make your amateur job look as good as a professional’s.
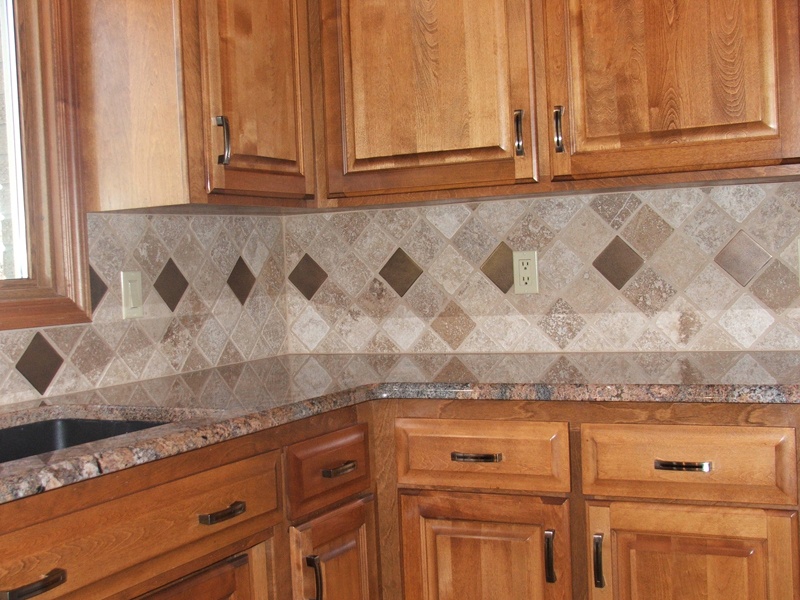
Photo by Jeff Gritchen-Pool/Getty Images
Comments
Loading…